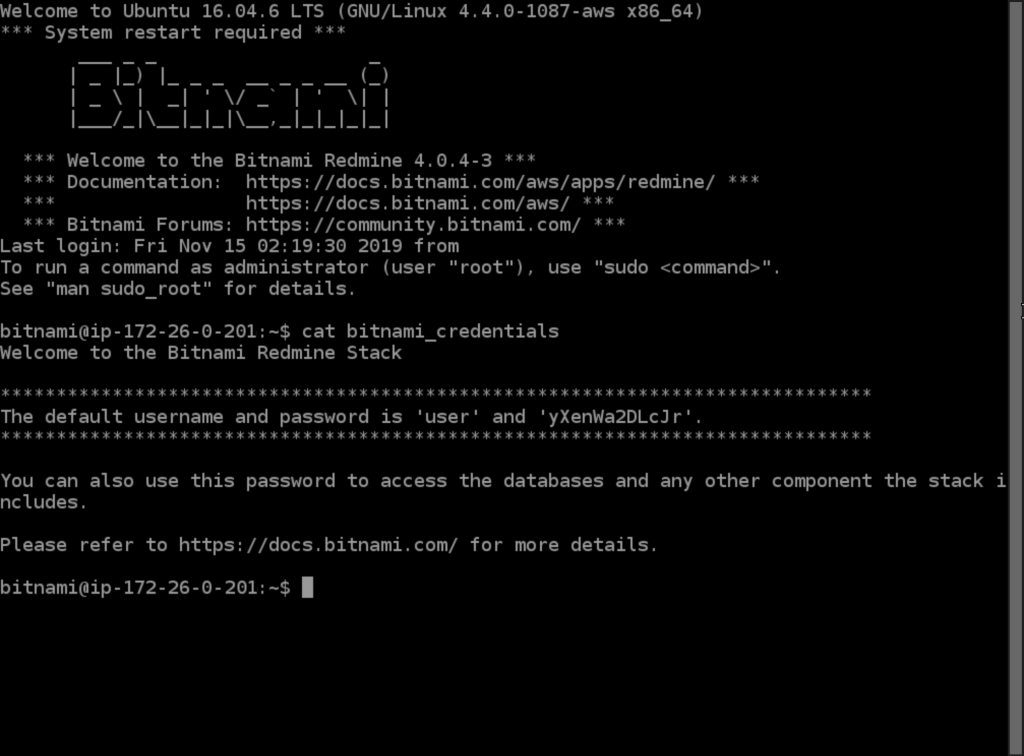
****************************************************************************** The default username and password is 'user' and 'TBLwnBpotZT3'. ******************************************************************************
You can also use this password to access the databases and any other component the stack includes. Please refer to https://docs.bitnami.com/ for more details.
https://RedmineホストのグローバルIPアドレス/ にアクセスして、ユーザ名: user パスワード: 上記テキスト内のパスワード でログインする。
$ sudo /opt/bitnami/letsencrypt/scripts/generate-certificate.sh -m root@example.com -d redmine.example.com ... It will create a certificate for the domain "redmine.example.com" under the email "root@example.com" Do you want to continue? [y/n]: y ... You can now configure a cronjob to renew it every month. Do you want to proceed? [y/n]: y
$ sudo vi /opt/bitnami/apache2/conf/bitnami/bitnami.conf
13行目付近に太字の3行を追加 <Directory "/opt/bitnami/apache2/htdocs"> Options Indexes FollowSymLinks AllowOverride All RewriteEngine on RewriteCond %{HTTPS} off RewriteRule ^(.*)$ https://%{HTTP_HOST}%{REQUEST_URI} [R=301,L] <IfVersion < 2.3> Order allow,deny Allow from all
A random seed must be generated that will be used in the
creation of your key. One of the easiest ways to create a
random seed is to use the timing of keystrokes on a keyboard.
To begin, type keys on the keyboard until this progress meter
is full. DO NOT USE THE AUTOREPEAT FUNCTION ON YOUR KEYBOARD!
MariaDB/MySQL データベースを使い始めるときは、まず mysql_secure_installation コマンドで状態を初期化して root パスワードを設定するのが一般的だろう。そして、設定したパスワードを使って DB root 接続し、アプリケーション等に必要なデータベースや DB 一般ユーザを作成する。この手順を実行しようとすると、DB に root ログインできない (パスワード認証が通らない) という事象にぶち当たる。
user@bionic$ sudo mysql_secure_installation (初期化してrootパスワードを設定)
Set root password? [Y/n]y
New password: testpass01
Re-enter new password: testpass01
Remove anonymous users? [Y/n]y
Disallow root login remotely? [Y/n]y
Remove test database and access to it? [Y/n]y
Reload privilege tables now? [Y/n]y
user@bionic$ mysql -u root -p
Enter password: testpass01
ERROR 1698 (28000): Access denied for user 'root'@'localhost' ←認証エラー!
上記動作の原因は、初期状態の DB root ユーザ認証に unix_socket 認証プラグインが使われていることである。この状態では、DB root として接続するために OS の root 権限にならなければならない (sudo または su コマンドを使う)。OS root になっていれば、以下のようにパスワードなしで DB root として接続可能である。
user@bionic:~$ sudo mysql
Welcome to the MariaDB monitor. Commands end with ; or \g.
Your MariaDB connection id is 35
Server version: 10.1.29-MariaDB-6 Ubuntu 18.04
Copyright (c) 2000, 2017, Oracle, MariaDB Corporation Ab and others.
Type 'help;' or '\h' for help. Type '\c' to clear the current input statement.
MariaDB [(none)]>
DB root でログインすると、認証プラグインの状態も確認できる。
MariaDB [(none)]> SELECT user,host,plugin from mysql.user;
+------+-----------+-------------+
| user | host | plugin |
+------+-----------+-------------+
| root | localhost | unix_socket | ← unix_socket 認証プラグインが使われている
+------+-----------+-------------+
1 row in set (0.00 sec)
さて、この認証方式をそのまま使うか?それとも昔ながらのパスワード認証に戻すか?
初期状態の認証設定でそのまま利用する
初期設定に乗っかっていくなら、DB の root パスワードを設定する必要がない。
また一般ユーザでも同一の仕組みを使う場合は、UNIX ユーザと DB ユーザを同名で作成すればよい。
user@bionic:~$ sudo useradd -m -s /bin/bash wordpress
user@bionic:~$ sudo mysql
MariaDB [(none)]> CREATE USER wordpress@localhost IDENTIFIED VIA unix_socket;
wordpress ユーザで接続できるかどうか確認する。
user@bionic:~$ sudo -i -u wordpress
wordpress@bionic:~$ mysql -u wordpress
Welcome to the MariaDB monitor. Commands end with ; or \g.
Your MariaDB connection id is 57
Server version: 10.1.29-MariaDB-6 Ubuntu 18.04
Copyright (c) 2000, 2017, Oracle, MariaDB Corporation Ab and others.
Type 'help;' or '\h' for help. Type '\c' to clear the current input statement.
MariaDB [(none)]> \q
Bye
user@bionic:~$ sudo mysql
MariaDB [(none)]> CREATE DATABASE wordpress;
MariaDB [(none)]> GRANT SELECT,INSERT,UPDATE,DELETE,CREATE,INDEX,ALTER ON wordpress.* TO wordpress@localhost;
DB の root ユーザを従来のパスワード認証に変更する (以前の方式に戻す) 。私自身は、こちらの手法で行くことにする。
user@bionic:~$ sudo mysql
MariaDB [(none)]> set password for 'root'@'localhost'=password('testpass02');
MariaDB [(none)]> use mysql;
MariaDB [mysql]> update user set plugin='' where user='root';
MariaDB [mysql]> flush privileges;
MariaDB [mysql]> \q
root ユーザの認証プラグインを外し、通常のパスワードを設定している。
一般ユーザについても、通常のパスワードを設定して作成する。
user@bionic:~$ mysql -u root -p
Enter password: testpass02
MariaDB [(none)]> CREATE USER wordpress@localhost IDENTIFIED BY 'testpass03';
MySQL から MariaDB に移行するにあたって、パッケージが前提とする流儀が違ったり、罠があったりするので手当てをする。
1. DB root ユーザでの接続に失敗する
通常は最初に DB root ユーザで DB エンジンに接続して、Web アプリケーションの要求するデータベースやDBユーザを作成するだろう。これを実行しようとすると、OS の一般ユーザのコマンドラインから DB に root ログインできないという事象にぶち当たる。
user@xenial:~$ mysql -u root -p
Enter password:
ERROR 1698 (28000): Access denied for user 'root'@'localhost'
mysql_secure_installationで初期化を実行しても効果がない。
上記動作の原因は、初期状態の DB root ユーザ認証に UNIX ソケット認証プラグインが使われているためである。この状態では、DB root として接続するために OS root 権限にならなければならない (sudo または su コマンドを使う)。OS root になっていれば、以下のようにユーザ名指定なし・パスワードなしで DB root として接続可能である。
user@xenial:~$ sudo mysql
Welcome to the MariaDB monitor. Commands end with ; or \g.
Your MariaDB connection id is 42
Server version: 10.0.34-MariaDB-0ubuntu0.16.04.1 Ubuntu 16.04
Copyright (c) 2000, 2018, Oracle, MariaDB Corporation Ab and others.
Type 'help;' or '\h' for help. Type '\c' to clear the current input statement.
MariaDB [(none)]>
DB root でログインすると、認証プラグインの状態も確認できる。
MariaDB [(none)]> SELECT user,host,plugin from mysql.user;
+------+-----------+-------------+
| user | host | plugin |
+------+-----------+-------------+
| root | localhost | unix_socket | ←unix_socket認証プラグインが使われている
+------+-----------+-------------+
1 row in set (0.00 sec)
2. 初期状態の認証設定でそのまま利用する
この初期設定に乗っかっていくなら、DB の root パスワードを設定する必要がない。
また一般ユーザでも同一の仕組みを使う場合は、UNIX ユーザと DB ユーザを同名で作成すればよい。
例) wordpress を「wordpress」というユーザ名で利用する場合
user@xenial:~$ sudo useradd -m -s /bin/bash wordpress (OS ユーザの作成)
user@xenial:~$ sudo mysql
MariaDB [(none)]> CREATE USER wordpress@localhost IDENTIFIED VIA unix_socket; (DB ユーザの作成)
wordpress ユーザで接続できるかどうか確認する。
user@xenial:~$ sudo -i -u wordpress
wordpress@xenial:~$ mysql -u wordpress
Welcome to the MariaDB monitor. Commands end with ; or \g.
Your MariaDB connection id is 46
Server version: 10.0.34-MariaDB-0ubuntu0.16.04.1 Ubuntu 16.04
Copyright (c) 2000, 2018, Oracle, MariaDB Corporation Ab and others.
Type 'help;' or '\h' for help. Type '\c' to clear the current input statement.
MariaDB [(none)]> \q
Bye
DB の root ユーザを従来のパスワード認証に変更したい (以前の方式に戻す) 場合は、以下の手順を実行する。
user@xenial:~$ sudo mysql
MariaDB [(none)]> set password for 'root'@'localhost'=password('パスワード文字列');
MariaDB [(none)]> use mysql;
MariaDB [mysql]> update user set plugin='' where user='root';
MariaDB [mysql]> flush privileges;
MariaDB [mysql]> \q
今回の設定対象は X 環境の無いUbuntuサーバなので、他のマシン(Ubuntuデスクトップ)からリモートで設定したい。そのため、CUPSの設定を変更して同一ネットワークのマシンからはリモート管理ができるようにする。
myserver1$ sudo vi /etc/cups/cupsd.conf
以下、cupsd.confの編集内容をdiff -u形式で表示する。
@@ -13,11 +13,12 @@
MaxLogSize 0
# Only listen for connections from the local machine.
-Listen localhost:631
+#Listen localhost:631
Listen /var/run/cups/cups.sock
+Port 631
# Show shared printers on the local network.
-Browsing Off
+Browsing On
BrowseLocalProtocols dnssd
# Default authentication type, when authentication is required...
@@ -29,11 +30,13 @@
# Restrict access to the server...
<Location />
Order allow,deny
+ Allow @LOCAL
</Location>
# Restrict access to the admin pages...
<Location /admin>
Order allow,deny
+ Allow @LOCAL
</Location>
# Restrict access to configuration files...
@@ -41,6 +44,7 @@
AuthType Default
Require user @SYSTEM
Order allow,deny
+ Allow @LOCAL
</Location>
# Set the default printer/job policies...
[global]
port = 1701
[lns default]
ip range = 172.16.1.11-172.16.1.30
local ip = 172.16.1.254
length bit = yes
require chap = yes
refuse pap = yes
require authentication = yes
name = myvps1.vpsnet.example.jp
ppp debug = no
pppoptfile = /etc/ppp/xl2tpd-options